How to Transfer
The USDT0 Network provides an easy and efficient way to move assets across different chains. This guide covers transferring USDT0 and XAUT0.
Transfer Interface
Both assets (USDT0 and XAUT0) are available through a single unified transfer interface:
Simply select your desired asset from the interface to begin transferring. The transfer process is identical across USDT0 Network products. This tutorial uses USDT0 as an example, but the same steps apply to XAUT0.
Step-by-Step Guide
1. Access the Transfer Page
Navigate to the appropriate transfer interface and click on the green Transfer button.
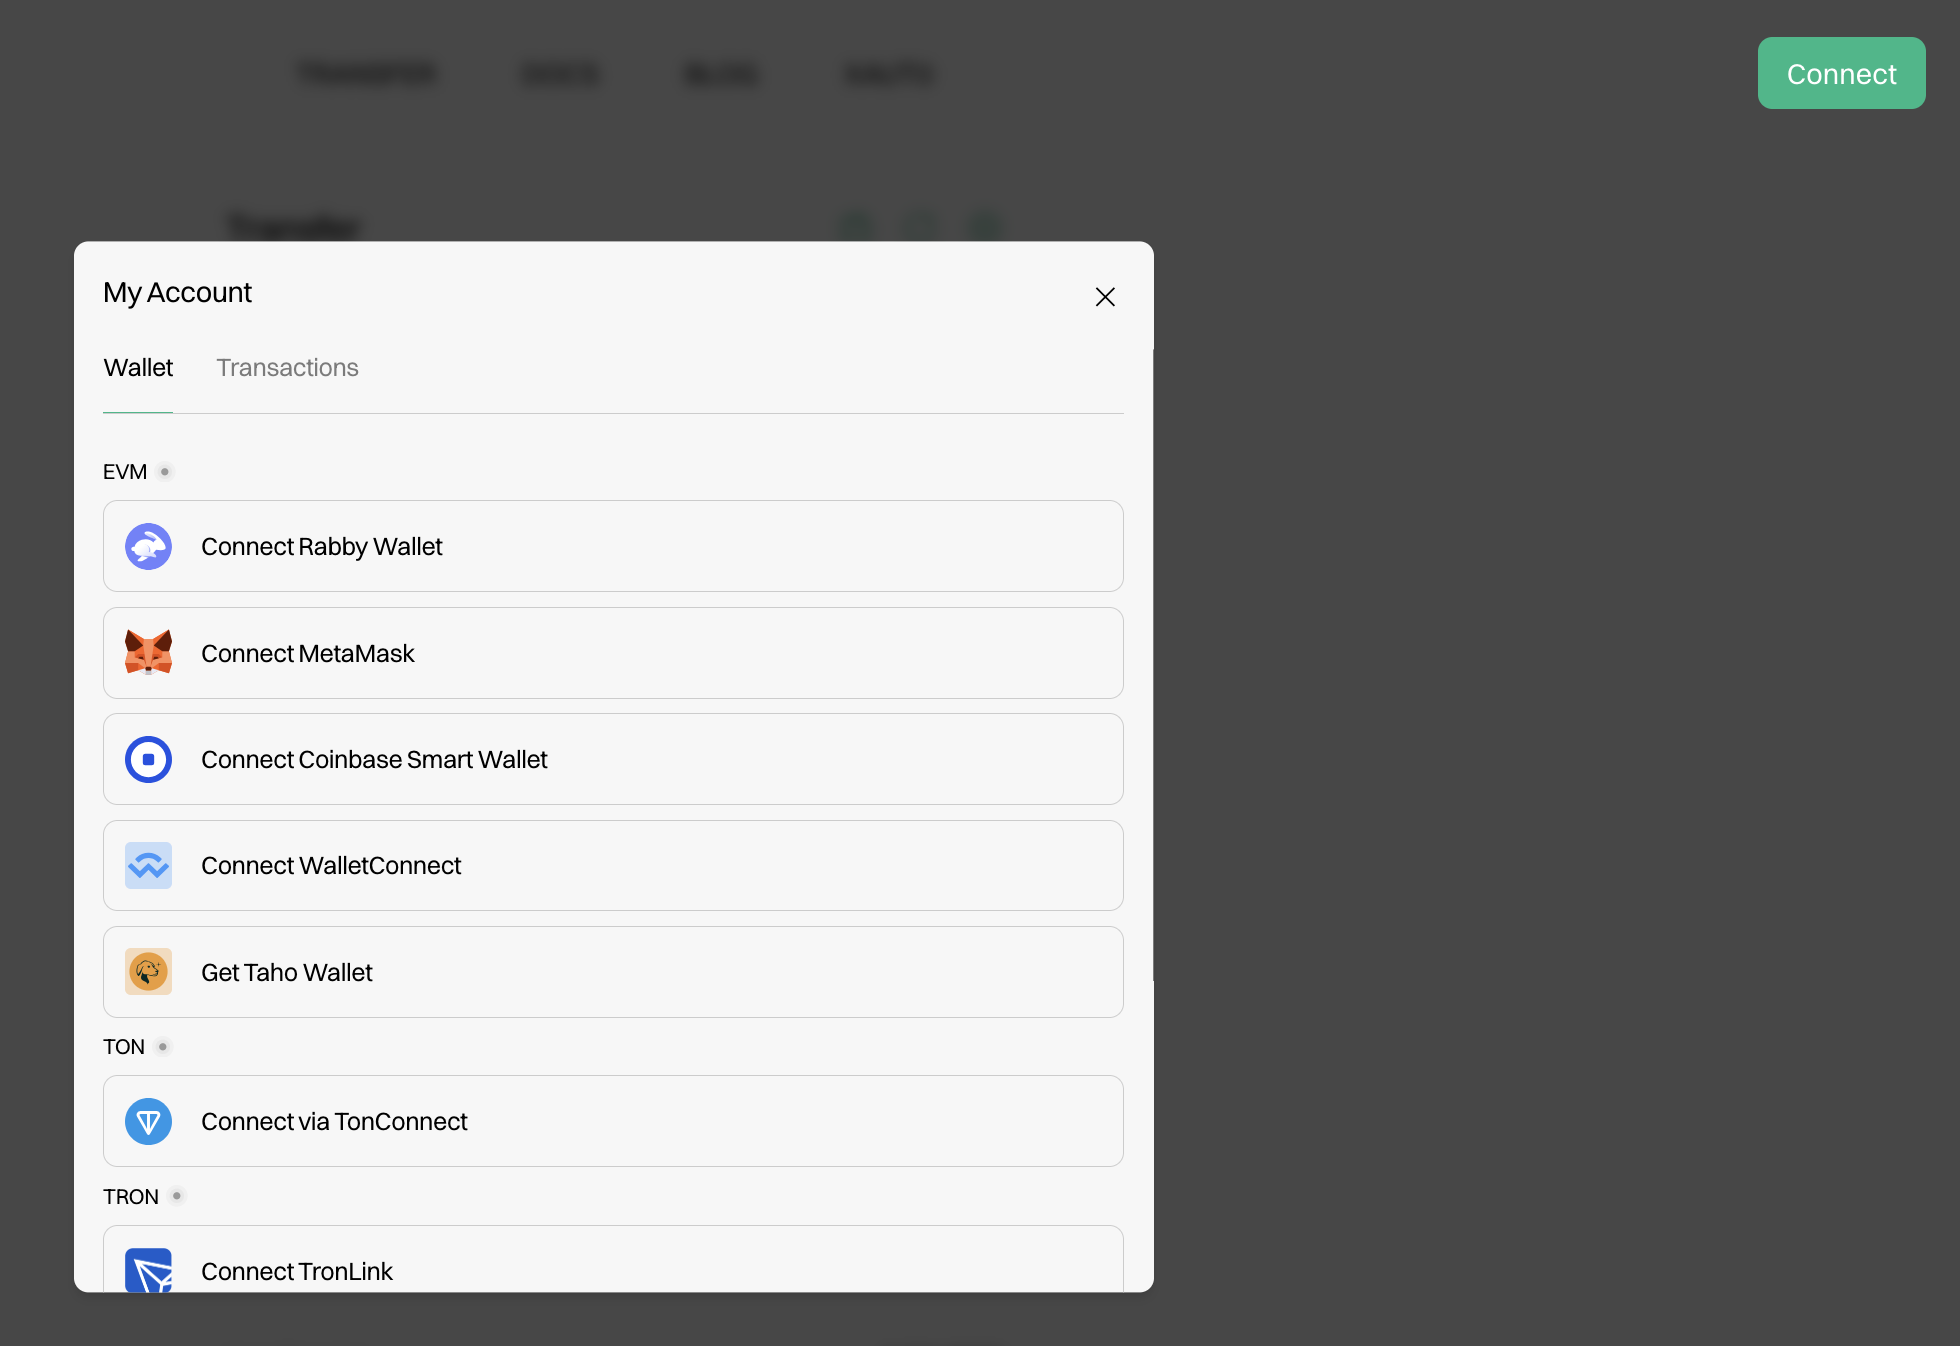
2. Connect Your Wallet
Click on the Connect button. A window will appear presenting you with a variety of wallet options. Choose which option works best for you. Popular options include Rabby Wallet, MetaMask, WalletConnect, and others.
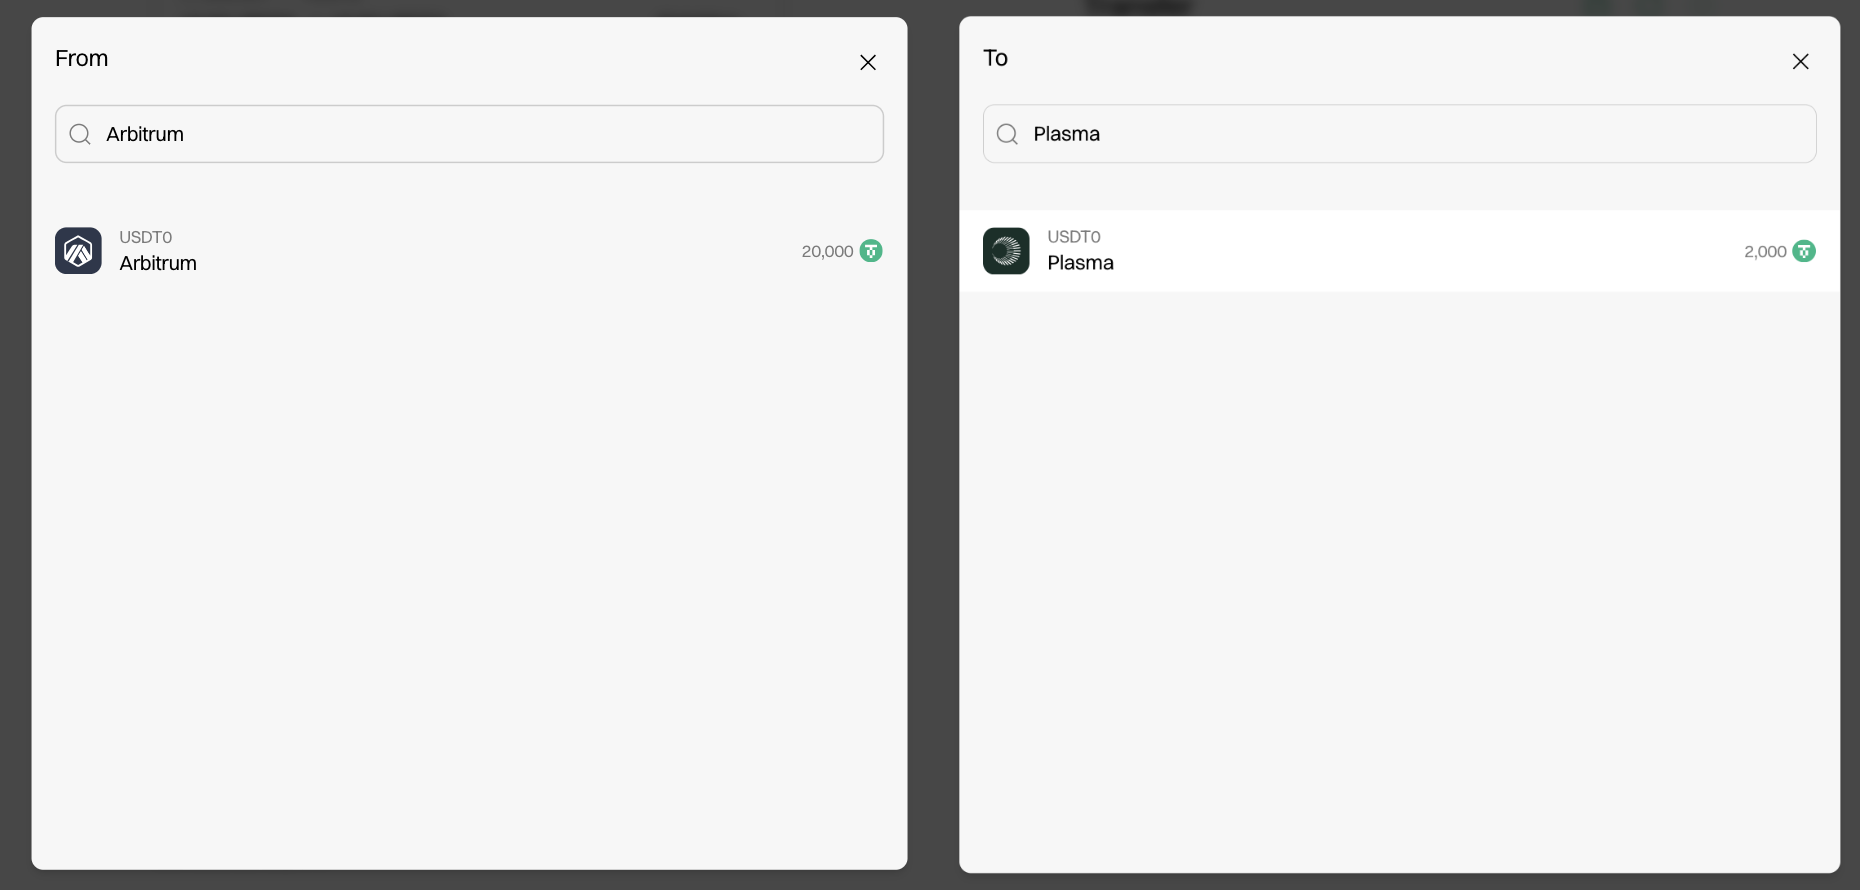
3. Select the Origin and Destination Chain
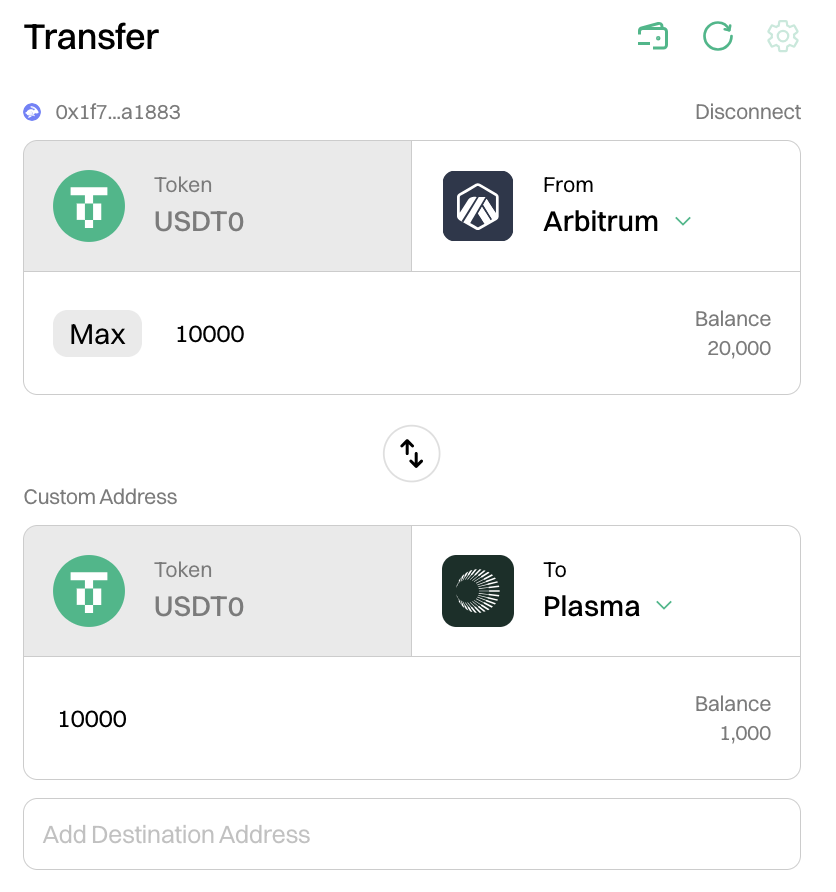
Select which network you would like to transfer your funds from by clicking on the From section of the UI as well as the To section. A window will pop up displaying your options.
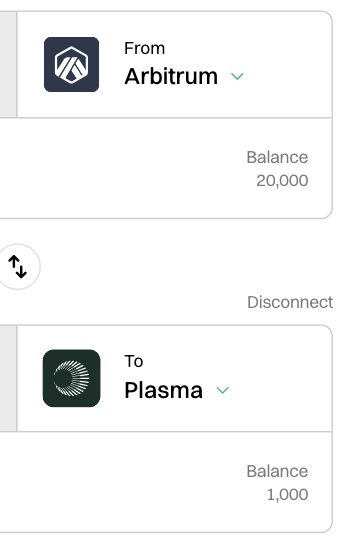
Example for USDT0: Select Arbitrum as the origin chain and Plasma as the destination chain.
Example for XAUT0: Select Ethereum as the origin chain and HyperEVM as the destination chain.
4. Enter the Transfer Amount
Select the amount of assets to be transferred between your chosen chains.
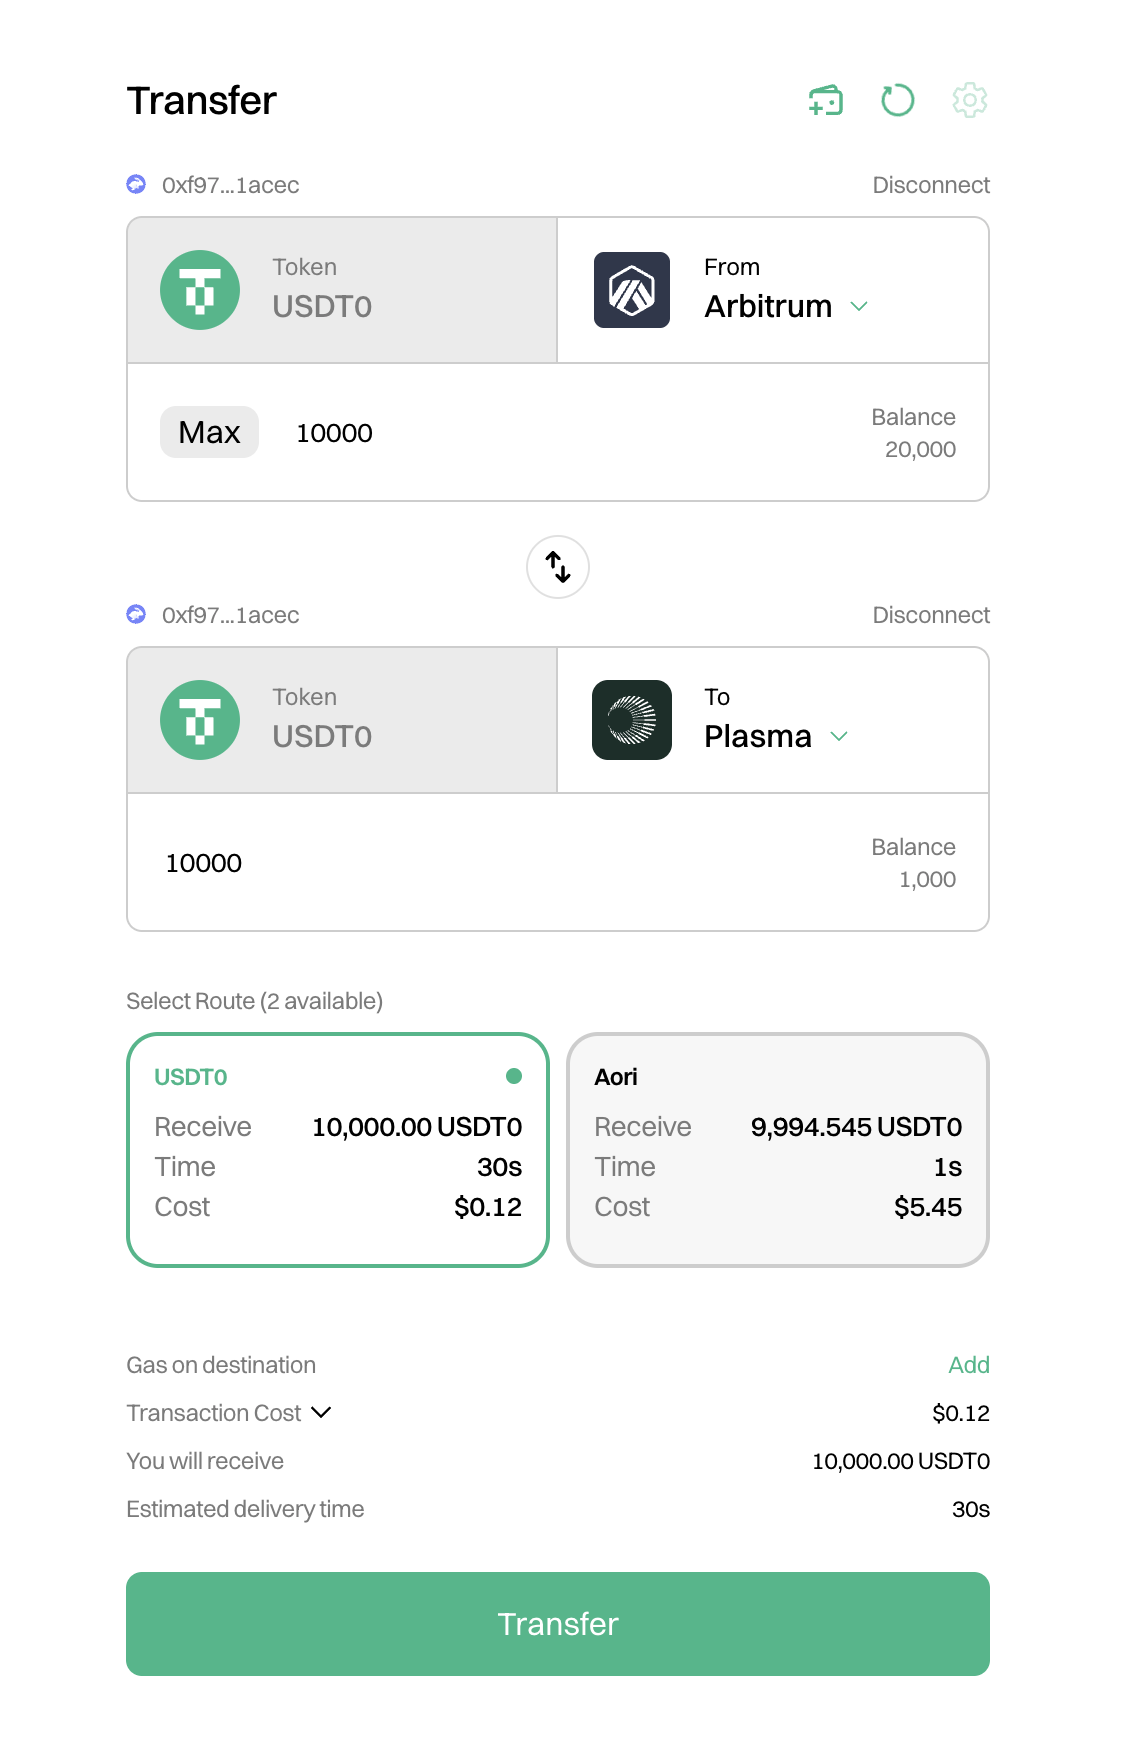
Example: Transfer 10,000 USDT0 from Arbitrum to Plasma, or 1 XAUT0 from Ethereum to HyperEVM.
4.1 Select Route - USDT0/Aori (if available)
For USDT0 transfers on supported chains, you may have the option to use Aori's intent-based settlement protocol.
What is Aori and when should I use it?
Aori is an intent-based settlement protocol that provides instant cross-chain transfers through a decentralized solver network.
Choose Aori when:
- You need immediate settlement (< 5 seconds)
- Trading or arbitrage timing is critical
- You're willing to pay a small fee for speed
Choose Native USDT0 when:
- Cost savings are your priority (free transfers)
- Standard settlement times (30s-3min) are acceptable
- You're transferring large amounts
Aori Technical documentation →
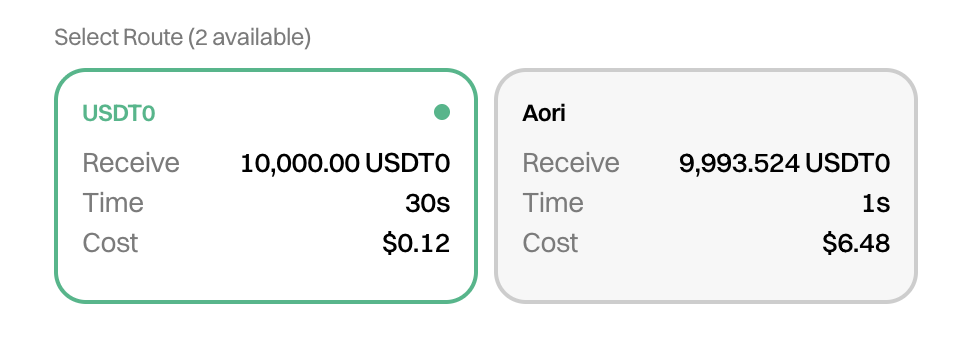
The native USDT0 route serves as the default transfer method. For supported chains, Aori's intent-based settlement protocol provides an alternative execution path with distinct performance characteristics.
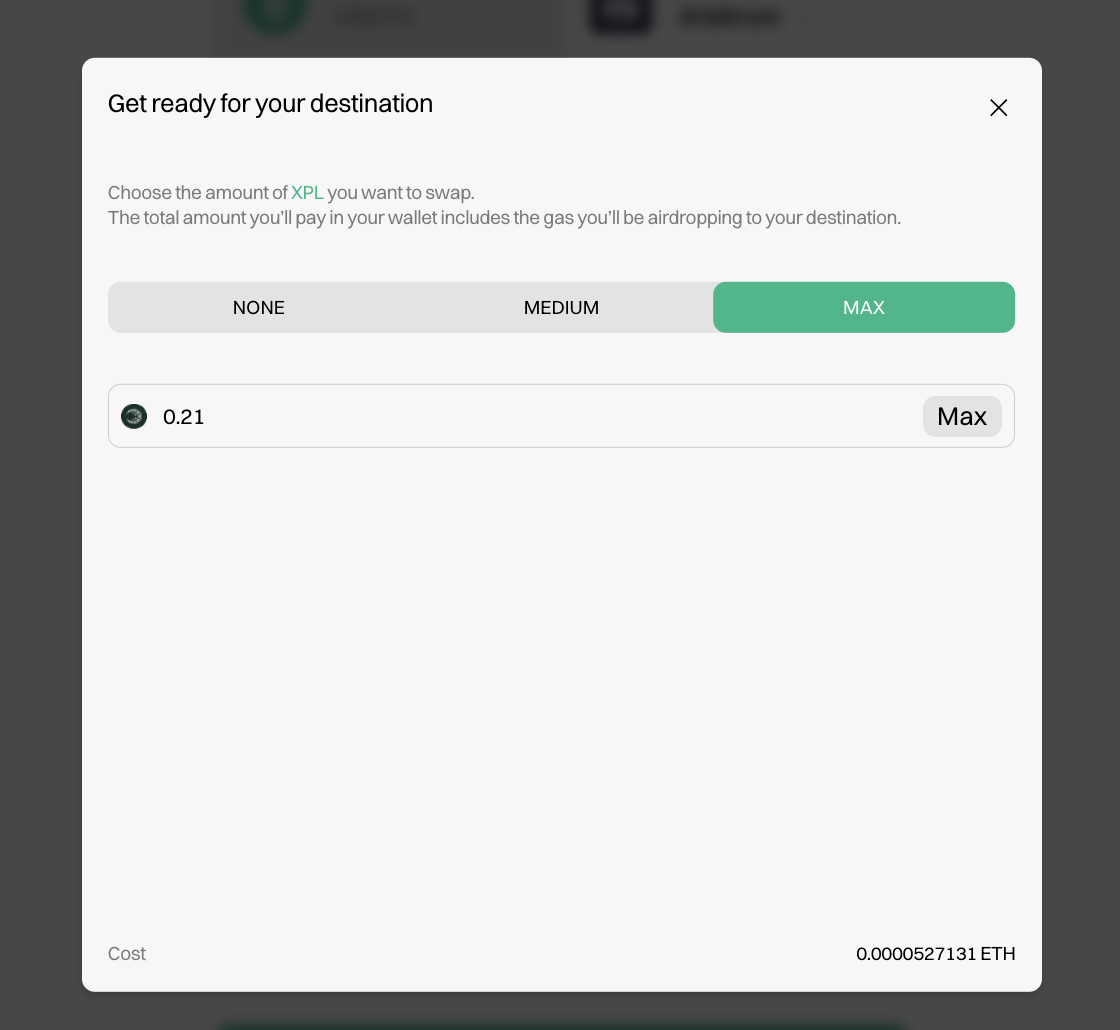
4.1.1 Receive Gas on the Destination Chain
If you do not have gas on the chain you'd like to transfer your funds to, the UI will prompt you to set gas on the destination chain. Click on Add in the Gas on destination section. A window will show up allowing you to select between None, Medium, or Max amount of gas which will be airdropped. You can also select a custom amount.
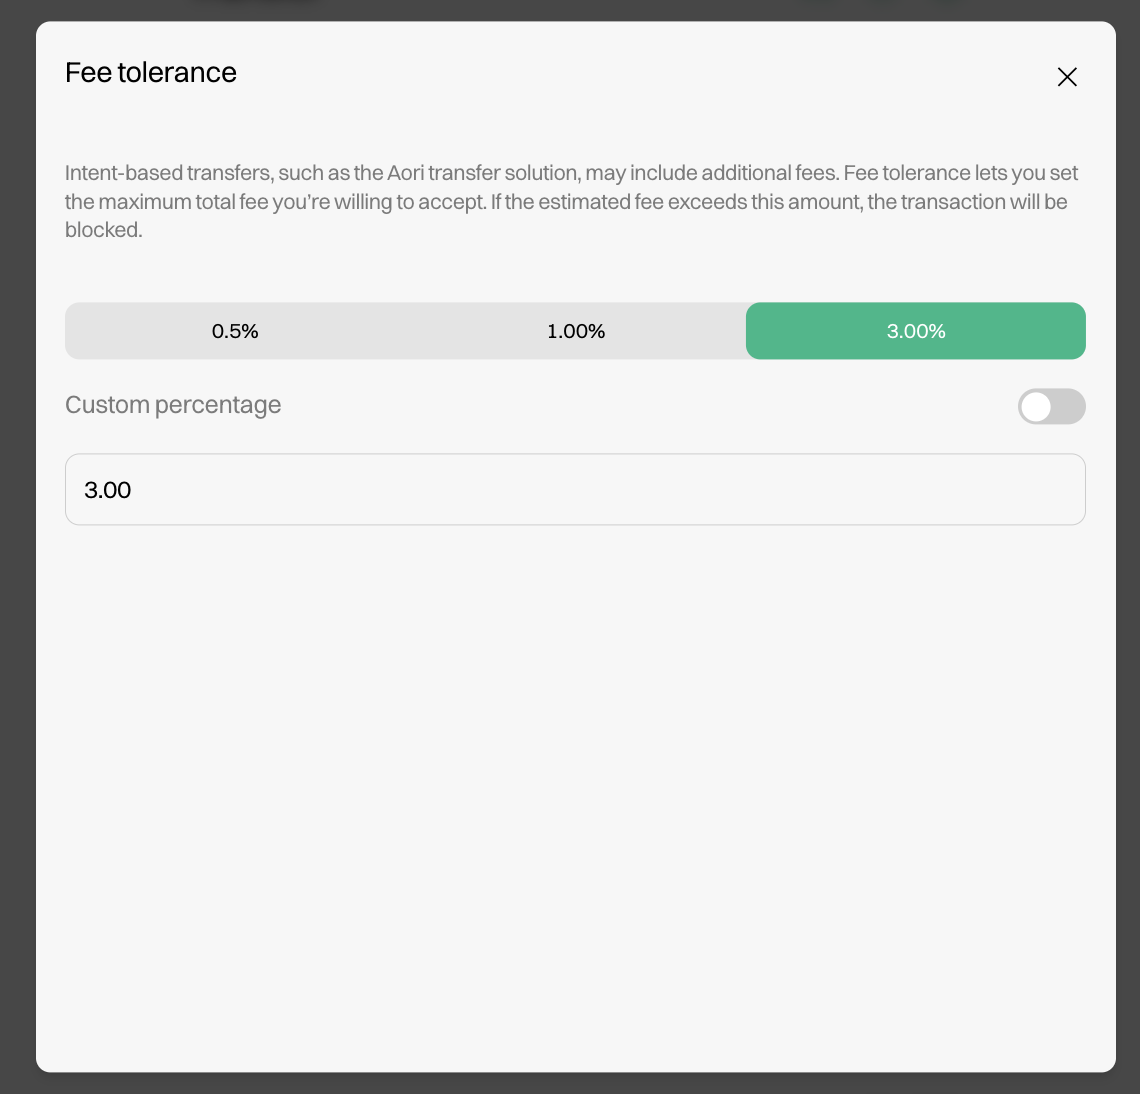
4.1.2 Fee Tolerance (for Aori transfers)
Intent-based transfers involve dynamic market-based pricing. Fee tolerance protects users from unexpected cost increases by setting a maximum acceptable fee threshold.
Setting Your Tolerance:
- 0.5%: Conservative, suitable for most transactions
- 1.0%: Moderate, balanced approach
- 3.0%: High, for urgent transfers where speed is critical
- Custom: Advanced users can specify exact tolerances
If the actual fee exceeds your configured tolerance, the transaction will be rejected before execution, ensuring no unexpected costs.
Example: For a $10,000 transfer with 1% fee tolerance, the transaction will only execute if total fees remain below $100.
5. Initiate Transfer
Transferring assets is a two-step process. Click the Transfer button and approve the transactions to initiate the transfer.
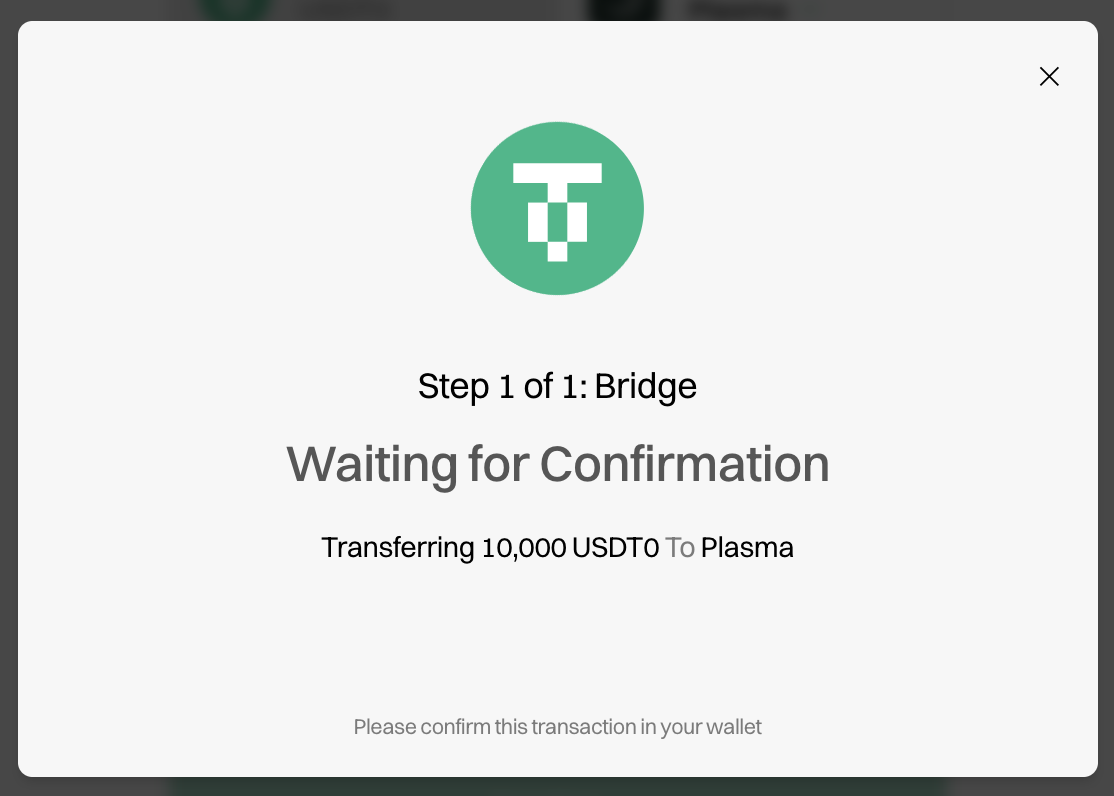
5.1 Step 1: Approve Spending Cap
Approve the spending cap for the token contract.
5.2 Step 2: Bridge
Confirm the bridge transaction.
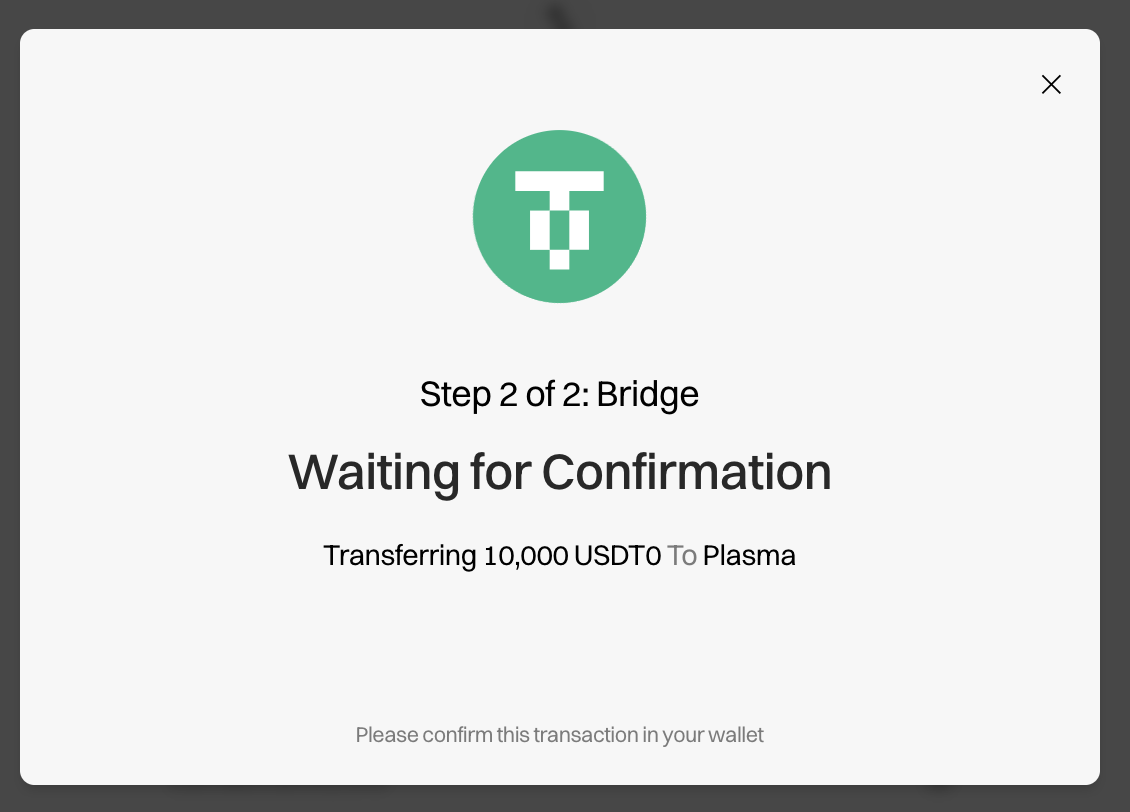
Now that you have signed both transactions, your transfer is on its way.
6. Wait for the Transaction to Arrive
After you initiate the transfer, the UI will display an estimate of when your funds will arrive.


7. (Optional) Add Destination Address
If you want to transfer your funds to a different wallet address on the destination chain, you can do so by clicking the green wallet icon above the From section. 
Need Help?
If you encounter any issues during the transfer process, contact support at support@usdt0.to.